

How To Add Picture To Your Blog
Bloggers are writers. They write text in the form of posts. Blogging is a written, text-based medium, right?
Not really.
Yes, it's a visual medium, that's true, but text is only part of it. Great bloggers know blog images are critical. They are an all-important ingredient, second only to a great headline . Every great book needs a cover; every great post needs an image.
Why? The blog image directly affects shares and traffic. Images get shared more in Twitter. Tweets with pictures see a 35% increase in retweets ( source ).

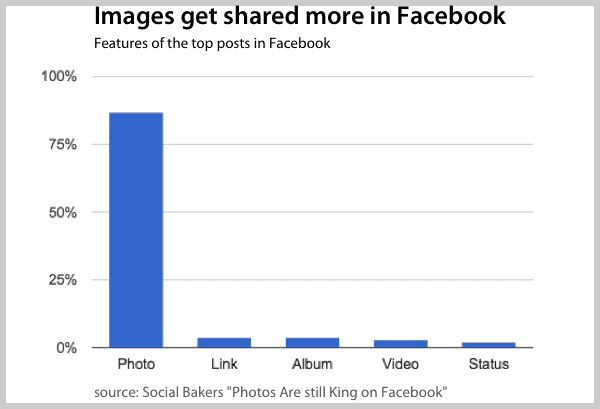
And posts with images get shared a lot more on Facebook. 87% of the top posts in Facebook include pictures ( source ).
If your post doesn't have an image, don't expect it to go very far.
A blog post without an image is like a postcard without a stamp.
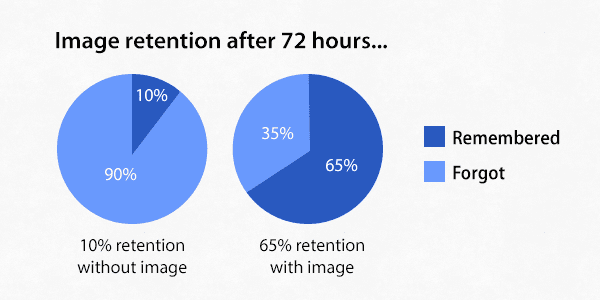
But images aren't just important for traffic. They're important for memory. Studies have shown that images make information easier to remember. This is called the "Pictorial Superiority Effect."
Ok, so a picture's worth a thousand clicks. But what if you aren't a designer? How to do you get great blog images?
Here's a guide to 15 blog image best practices including image sizes and shapes, copyrights and attribution, stock photos and free images. This post is all of our best advice about visuals in blog posts.
1. Featured images with headlines
Let's start with the most important image for every post, the featured image. This is the one that appears at the top of the post and in social streams when the post gets shared.
Do it well, it will get clicked and reshared. Do it poorly, viewers will scroll right past.
Doing it well means putting the headline right into the image. So the image contains the meaning all by itself. The image will stand on its own.
ProTip: Is your blog image not appearing on Facebook or Twitter as the social snippet? Here is the code that fixes it.
Canva is an easy way to add text to images, without Photoshop or the help of a designer. You can start with a template they provide or you can create your own custom dimensions. Then add an image from their library (or upload your own) with loads of pre-formatted text that overlay nicely on top.
Here's an image I made in Canva in just a few minutes.
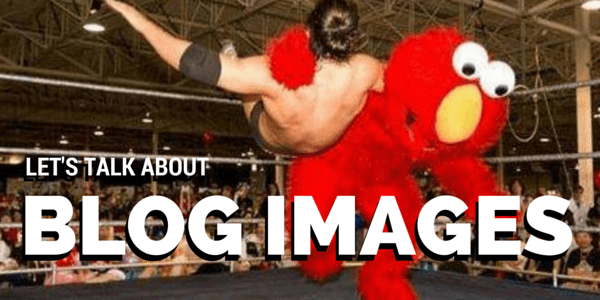
By putting the headline into the image, people who even glance at the image will know the topic of the post. They'll know your post is about blog images, not Elmo.
2. Images with faces
Faces are unique. They are unlike any other type of image. From the time we are infants, we have a tendency to stare at faces ( source ). Babies are more likely to gaze at shapes that resemble faces, even if it's not an actual face.
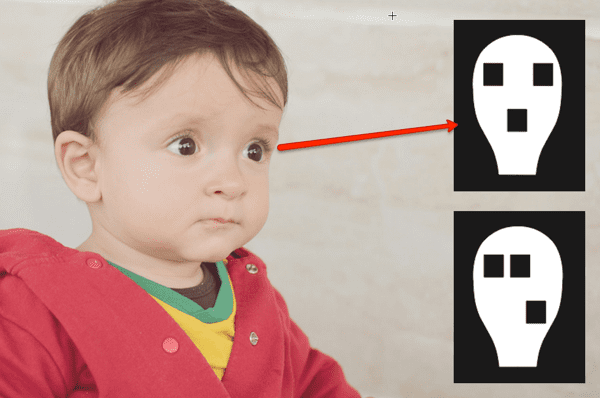
This is a hardwired visual preference. A cognitive bias built into all of us. Photo editors at magazines and newspapers have known this for decades. Images of faces will grab and hold readers' attention.
ProTip: If you have an "About" section on your website without pictures of people, stop reading this post and go add some. This "neutron bomb" problem is easy to fix. Just go put a face with the name!
Faces create another subtle marketing opportunity. You can direct the viewer's attention in specific directions.
Eye tracking studies show that "you look where they look." If the eyes in the image are looking in a certain direction, the viewers will tend to look in that direction too.
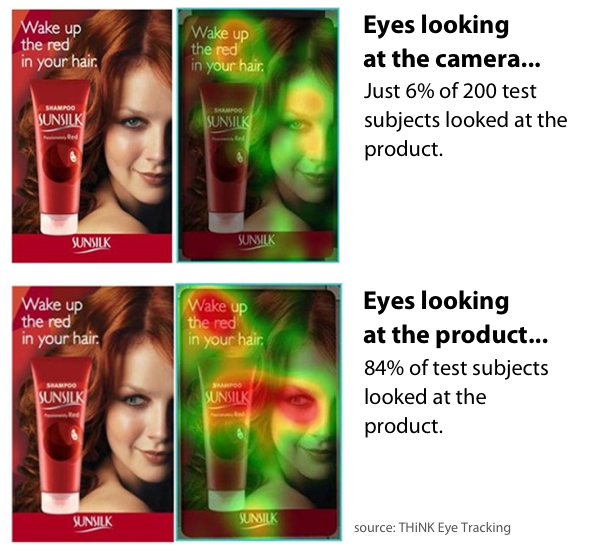
The direction of the eyes creates an invisible arrow, irresistible to viewers. Blogging pros like Mari Smith have used this tactic for years.

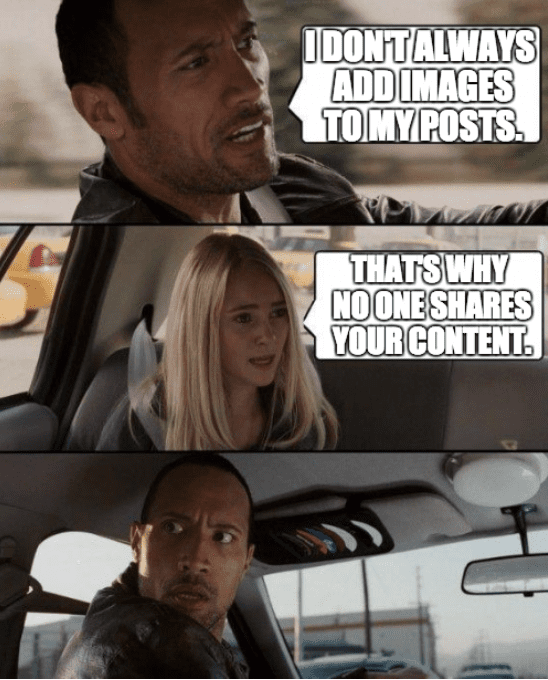
3. Meme images
These are easy to create using a tool like imgflip.com . Just upload the picture of your choice, then type in the text. It takes minutes at most to create blog images like this one.
The problem with imgflip is that you might get sucked in, looking at other people's memes, like this one.

Ok. Moving on…
4. Blog image sizes for social media
What's the right size for blog images? What are the exact pixel dimensions ideal for Facebook, Twitter, etc…? There are dozens of posts that detail image sizes for social media networks.
Ignore them.
The size doesn't matter. It's the shape of the image that counts. The social networks automatically resize photos for their social streams. As long as the image is roughly twice as wide as it is tall, it will look fine on every social network.
If it's much taller than it is wide, the social networks may cut off the top and bottom, like this picture…
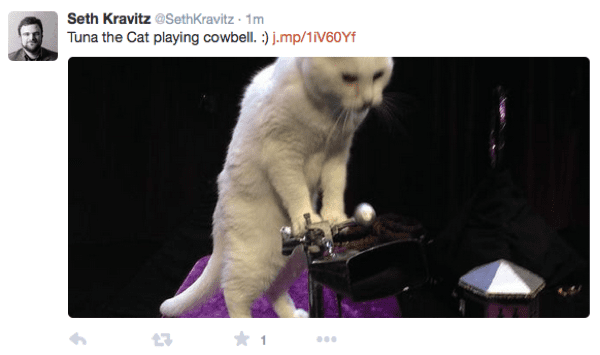
Tuna got cropped on Twitter!
The width-to-height ratio is called the "aspect ratio." Images that are wide are called "landscape" and images that are tall are called "portrait." Give your blog images a landscape aspect ratio.
Make your blog images the full width of your blog's content area (usually 600 or 650 pixels wide) and half as tall . That's really all you need to know about image sizes.
5. Diagrams
Diagrams are a fast way to explain complex concepts. But they take a bit more work.
I use OmniGraffle to make diagrams. It's Mac software for flowcharting. It makes drawing boxes and arrows easy. Here's one I made in about 10 minutes.

For bar charts, you can pull them right out Excel or Google Sheets. For pie charts, head back to imgflip . They have a nice tool for this.
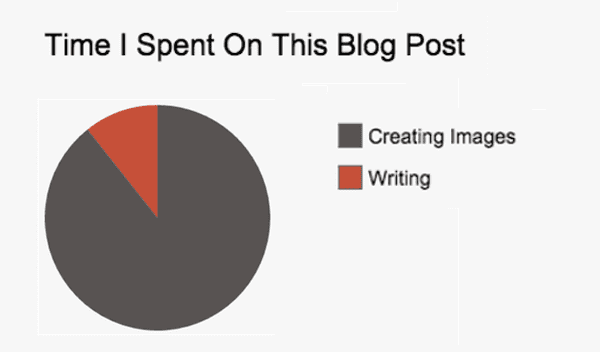
This image took less than a minute to create.
6. Infographics
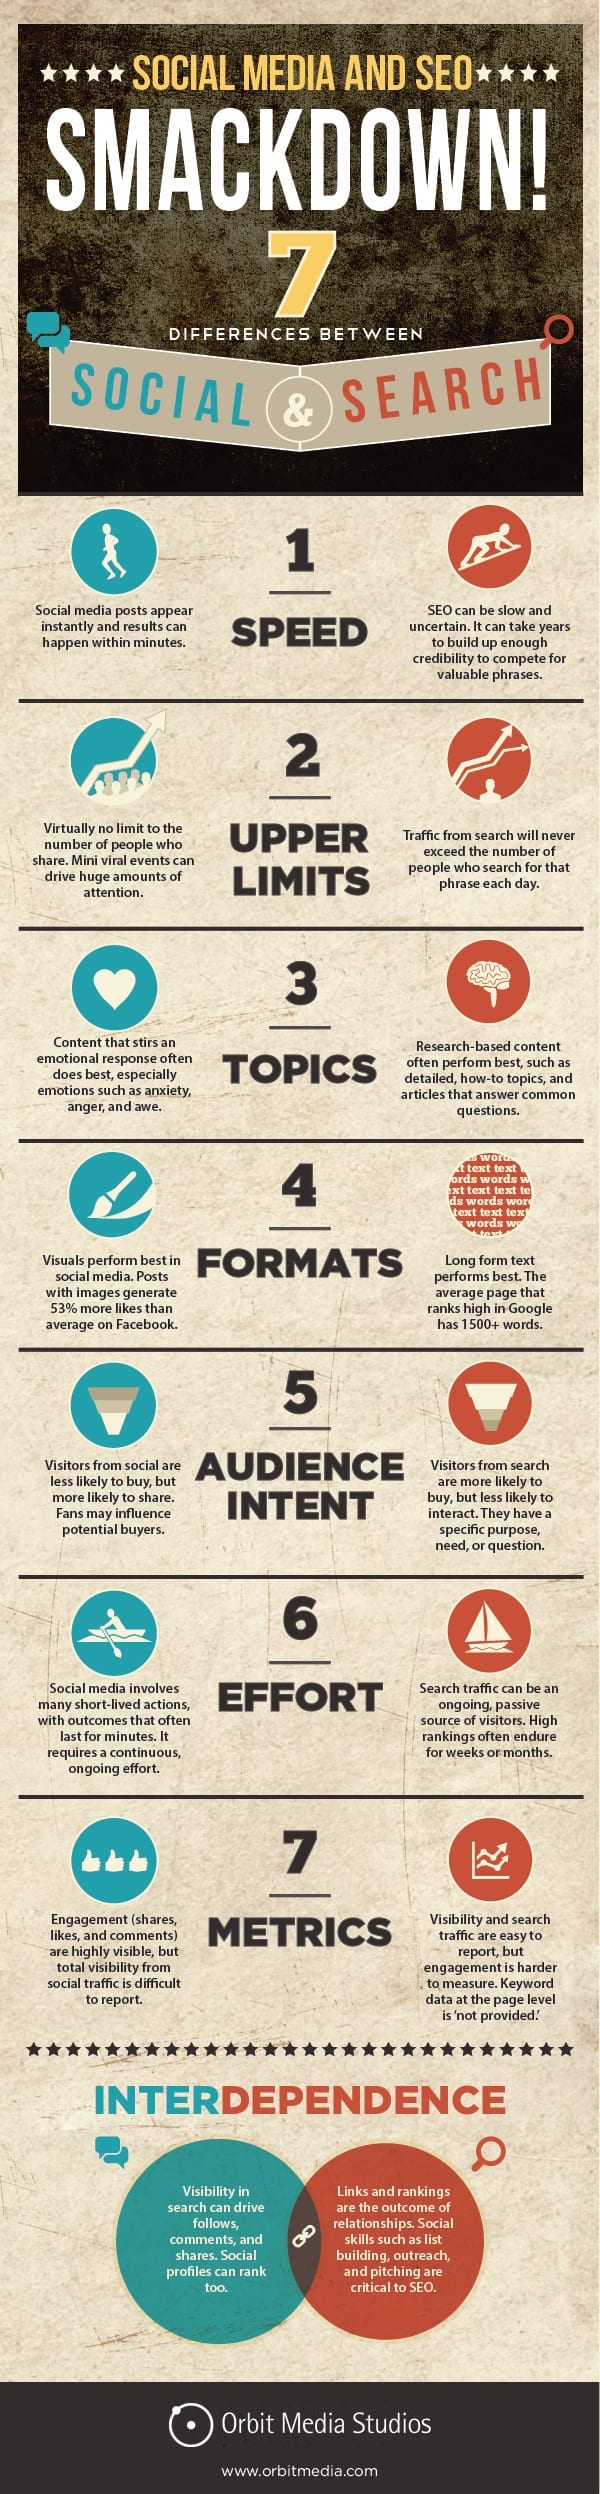
Infographics, the mother of all blog images, are really designed to stand on their own.
It's best if you use only a few points and encourage others to embed it on their site with link back to you. Here's one we did on SEO vs. Social Media. Notice how we added the embed code with a link back to the post? If you want design ideas for different types of infographics, check out Venngage's templates.
Want to publish this infographic on your own site?
Copy and paste this code into your blog post or web page:
7. Quote images
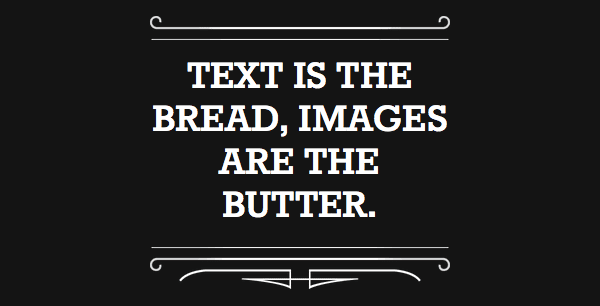
Sometimes, the words are the pictures. Take your headline or a juicy quote and make it a visual piece of content. There are plenty of free tools that make this easy.
Notegraphy styles the text using fonts and colors. It takes only seconds.
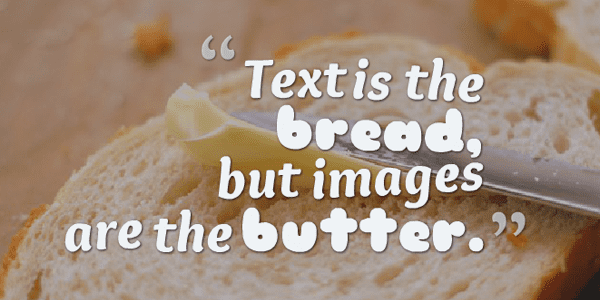
QuotesCover requires a few extra steps, but it gives you more control over font and color options and lets you add an image to the background. Here's one I made in just a few minutes.
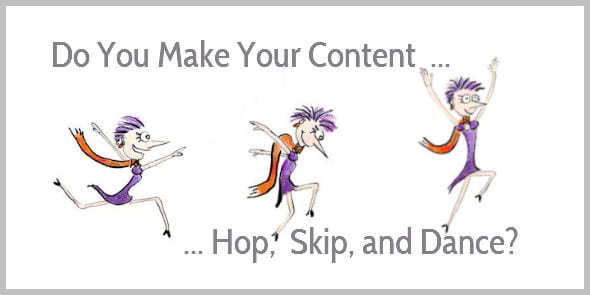
8. Drawings
Rather than spending hours scouring the web for free images, or struggling with software that isn't part of your skillset, try this crazy idea: pick up a pencil and draw.
In minutes, you'll have something original that supports your message. An art degree is not required.
This is exactly what Henneke does on her blog, Enchanting Marketing . And it's wonderful.
All you need is some art supplies and a little bravery. Once the drawing is done, scan it or take a picture with your phone. I've been using Genius Scan , which is a phone app that works as well as any scanner.
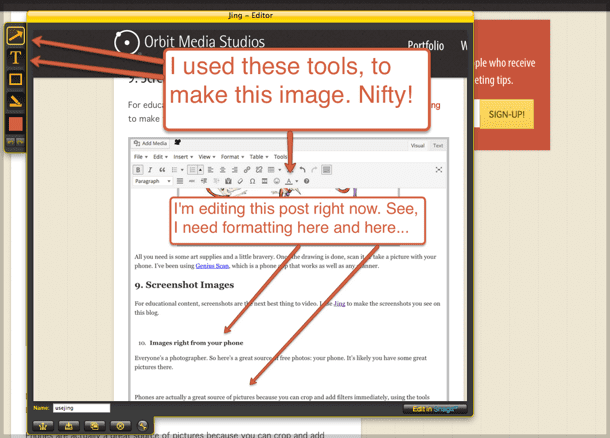
9. Screenshot images
For educational content, screenshots are the next best thing to video. I use Jing to make the screenshots you see on this blog. Like this one…
10. Images right from your phone
Everyone's a photographer. So here's a great source of free photos: your phone. It's likely you have some great pictures there.
Phones are actually a great source of pictures because you can crop and add filters immediately, using the tools native to modern phones. Snap! FIlter! Crop! Then email it to yourself.
But keep in mind the earlier advice about the shape of images. They should be wide, not tall. Most screens and all social stream images are wide rectangles. We are living in a landscape world, baby! So when taking pictures on your phone, hold it sideways.
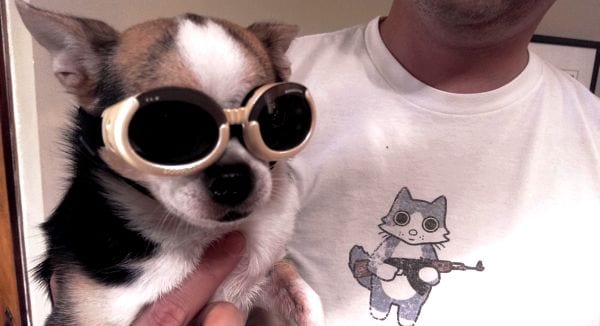
This picture of Roscoe, my brother's dog, would make a fine image for a blog post.
11. Use more than one image
Accept it. Your readers are really just scanners. Maaaaybe 28% of your post will be read . Probably, it's more like 20%.
So how can you slow these scanners down? Keep them interested? First, make sure you're formatting. Use short paragraphs, subheaders, bullets, bolding and links. But more importantly, use many images .
The goal is to keep the reader out of a desert of text. No matter how far down they scroll, they should never hit a wall of words. There should be images at every scroll depth.
Social Media Examiner knows how to keep visitors moving. Every post has an image at every scroll depth! Mike and his team do this deliberately to keep scan readers interested.
According to our latest blogger research , more bloggers are using more images. In the last year, there's been a 14% increase in the percentage of bloggers who use multiple images . Here's another great study to back this up.
It's officially a trend.
12. Use animated gifs
Do you like that little animated GIF image above? I made it in minutes using a combination of Screenflow , screen capture software which outputs to MP4, and ezGIF , which turns MP4 files into animated GIFs.

Here's an excellent tutorial on creating beautiful, fast loading GIFs. Thanks, Andy Orsow !
But careful using animations. Movement is so powerful at capturing attention, it can be annoying. Personally, I've had enough of both of the animations above!
13. Use images in a consistent way
If you establish your own style, readers will come to recognize it. It also speeds up the process of making images because a lot of design decisions are made in advance, such as layout, fonts and colors.
Set standards and follow them. This makes anyone into a better designer.
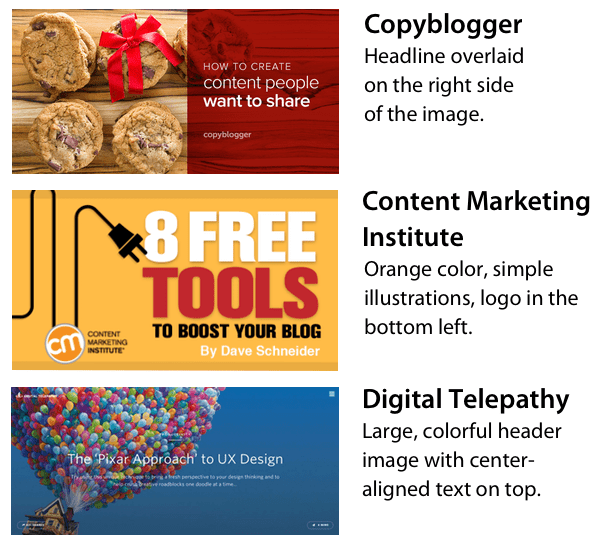
Here are examples of how some blogs have created standards for their blog post images…
We have a style guide that shows the typefaces and colors of our brand. I refer to this document whenever I reach for a color or a font.
14. Use Stock Images
Of course, no one loves stock images. But they're better than no image at all. If you do have to use them, follow these steps on how to customize stock images.

Or, Vince Vaughn has very graciously offered you some nice stock photos at no charge . Which brings us to another blog image best practice…
15. Images that won't get you sued
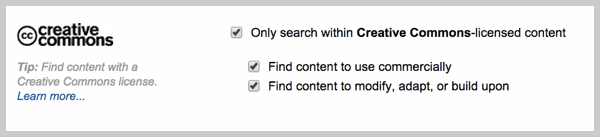
Not getting sued is always good. And it's easy if you know where to look for images. Search tools at Flickr allow you to filter for images covered by the Creative Commons license.
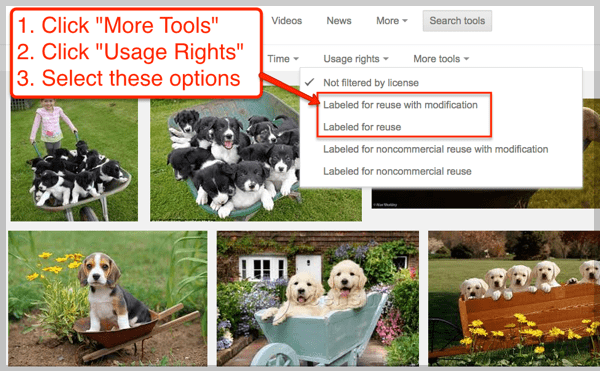
Google Images search tool now includes filters for usage rights. Check these before searching for wheelbarrows of puppies!
Seriously, don't even think about using an image that isn't creative commons. Companies build robots that do nothing but scan the web for images used without permission. PicScout, owned by Getty Images, is one such company.

If they find an image on your website used without license, a robot lawyer sends you a "Settlement Demand Letter" …and a bill. Depending on the image, it could be for hundreds of thousands of dollars.
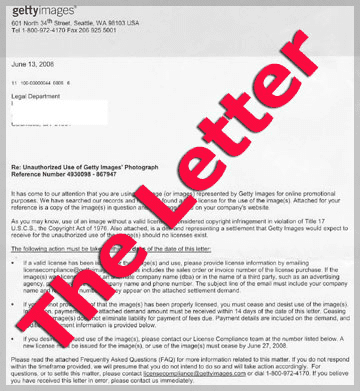
Great blog posts start conversations. But not with lawyers. You don't want to get one of these letters.
Side note: Getty Images has often been accused of bullying for sending these letters. In at least one case, they've been sued. The story behind the lawsuit is very amusing…
What you'll need to create great blog images
Blogging is writing, but it's also selecting and preparing images. You need writing skills, but also basic image skills:
- Cropping, resizing and optimizing images
- Basic filters and effects (levels, contrast, auto-enhance)
- Adding text, basic typography
- Grabbing screenshots (Mac users, press command+shift+4 to capture any part of anything on your screen! I do this all the time)
You'll also need a few tools. Here's a list of some popular ones…
For photo editing…
- Pixelmator – $29.00
- GIMP – Free
- Paint.net – Free
- Adobe Photoshop – $20 – $80/month
For screen captures…
- Jing – Free
- Snagit – $49.95
- Awesome Screenshot (a Chrome add on that gives you high resolution screenshots) – Free
For screen recordings…
- Camtasia – $99
- Screenflow – $99
For diagrams, flowcharts and infographics…
- Omnigraffle – $99
- Visio – $300
- Google Drawing – Free
- Picktochart – Free, Pro Version is $29/month
And of course, there are the online tools we mentioned above, including Canva, Imgflip, Flickr and many others.
I'll admit, we have a design team here that often beautifies my blog images. But professional design isn't mandatory.
What tools are you using? Help your fellow marketers out by leaving a comment below.
How To Add Picture To Your Blog
Source: https://www.orbitmedia.com/blog/blog-image-best-practices/
Posted by: cookboun1947.blogspot.com
0 Response to "How To Add Picture To Your Blog"
Post a Comment